DIY PCBs Using a Laser Cutter

The easiest way I have found to make DIY PCBs is to use a laser cutter. This process doesn't rely on the laser to remove copper, but instead uses the laser to remove an etch resist (paint) .
Step 1: Clean the Copper board
It is essential to clean the copper clad board thoroughly to ensure success, especially with small features. This was done with a scouring pad and water to remove harder contaminants like the oxides, and then alcohol to remove oils. In addition "Comet" can work well to clean the board.
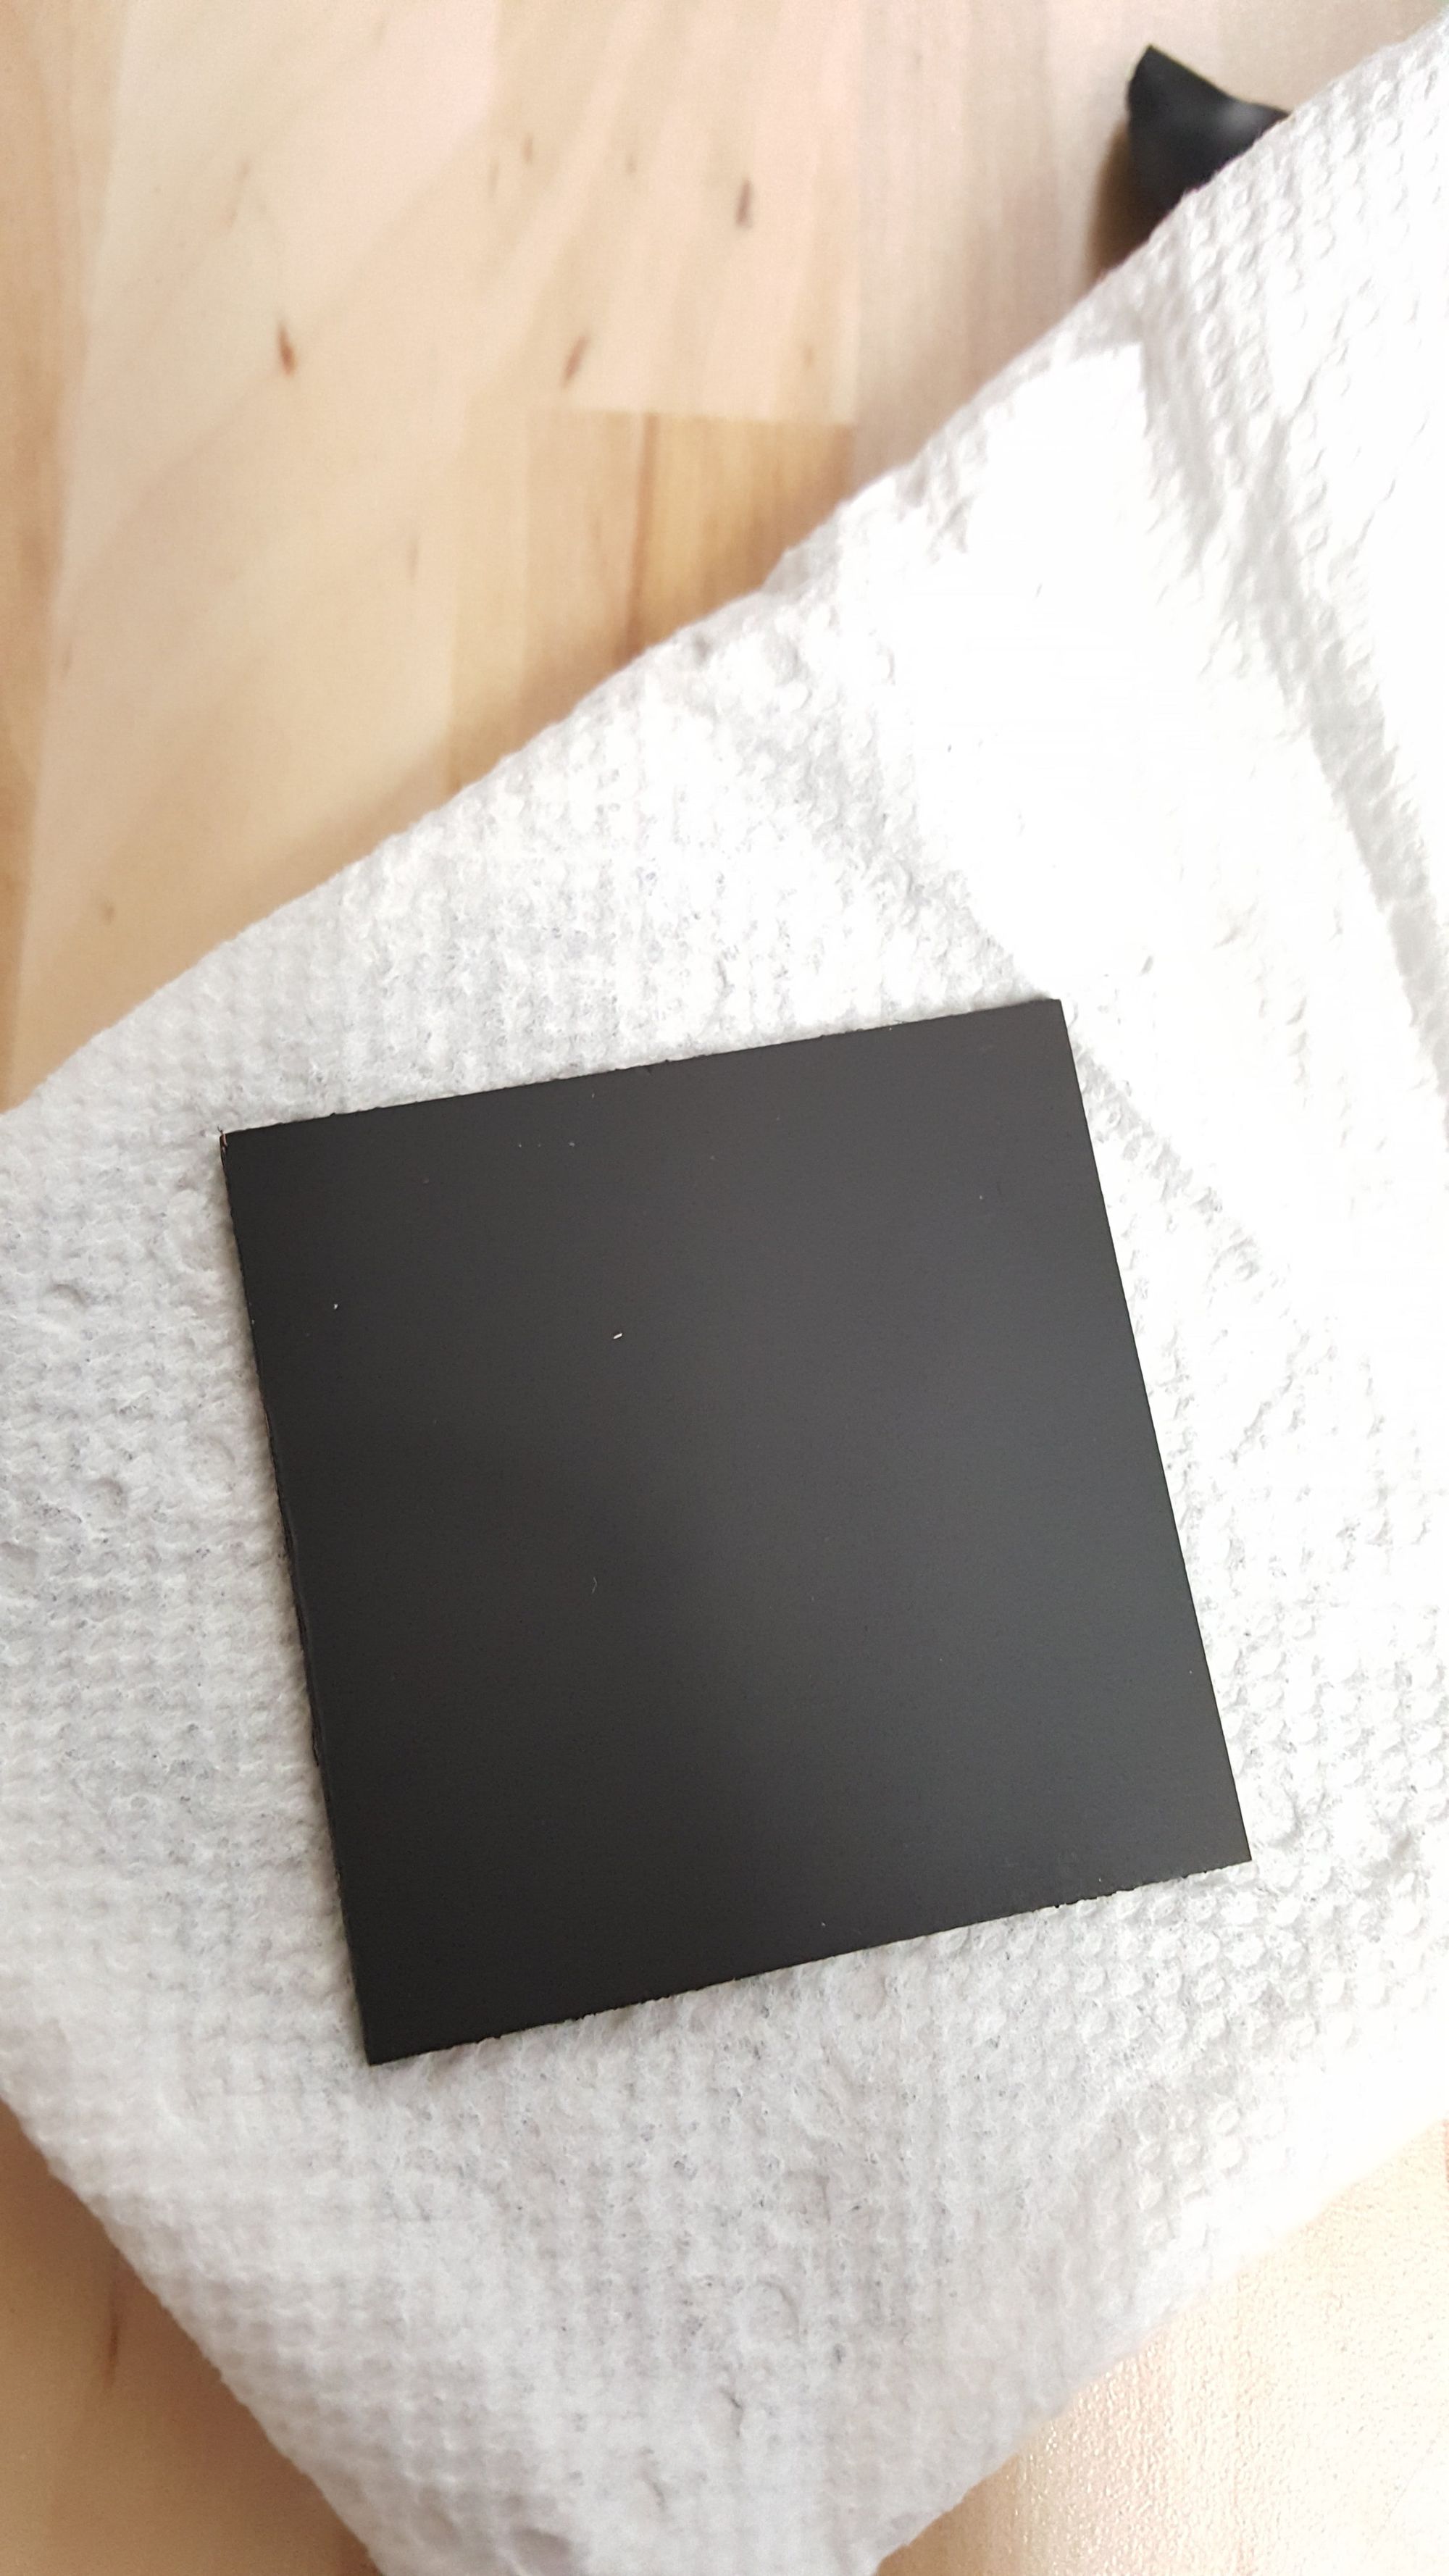
Step 2: Paint the board
Next, the board needs to be coated with an etch resist. In this case, generic black spray paint is used. It is best if this is an even coat.
Step 3: Laser Etching
The laser cutter is configured to do a scanning operation with the negative of the PCB pattern. When the operation is complete there can be a haze still left on the copper. This usually takes a few passes to fully remove. As far as power settings, it is best to run at low power (low speed) and do multiple passes. If the power is too high, the haze left behind is usually tougher.
Step 4: Chemical Etching
Now that the etch resist is protecting the copper that is desired and exposing the undesired copper, it is time to chemically etch the boards. This is done in the usual way, by soaking the boards in ferric chloride. Something that can help the process is to scrape any large copper areas with a knife before etching. This allows the acid to start attacking the copper quicker. Also, the spray paint resist has the advantage of being more robust than other resists, so a brush can be used to continuously "paint" the board with fresh acid.
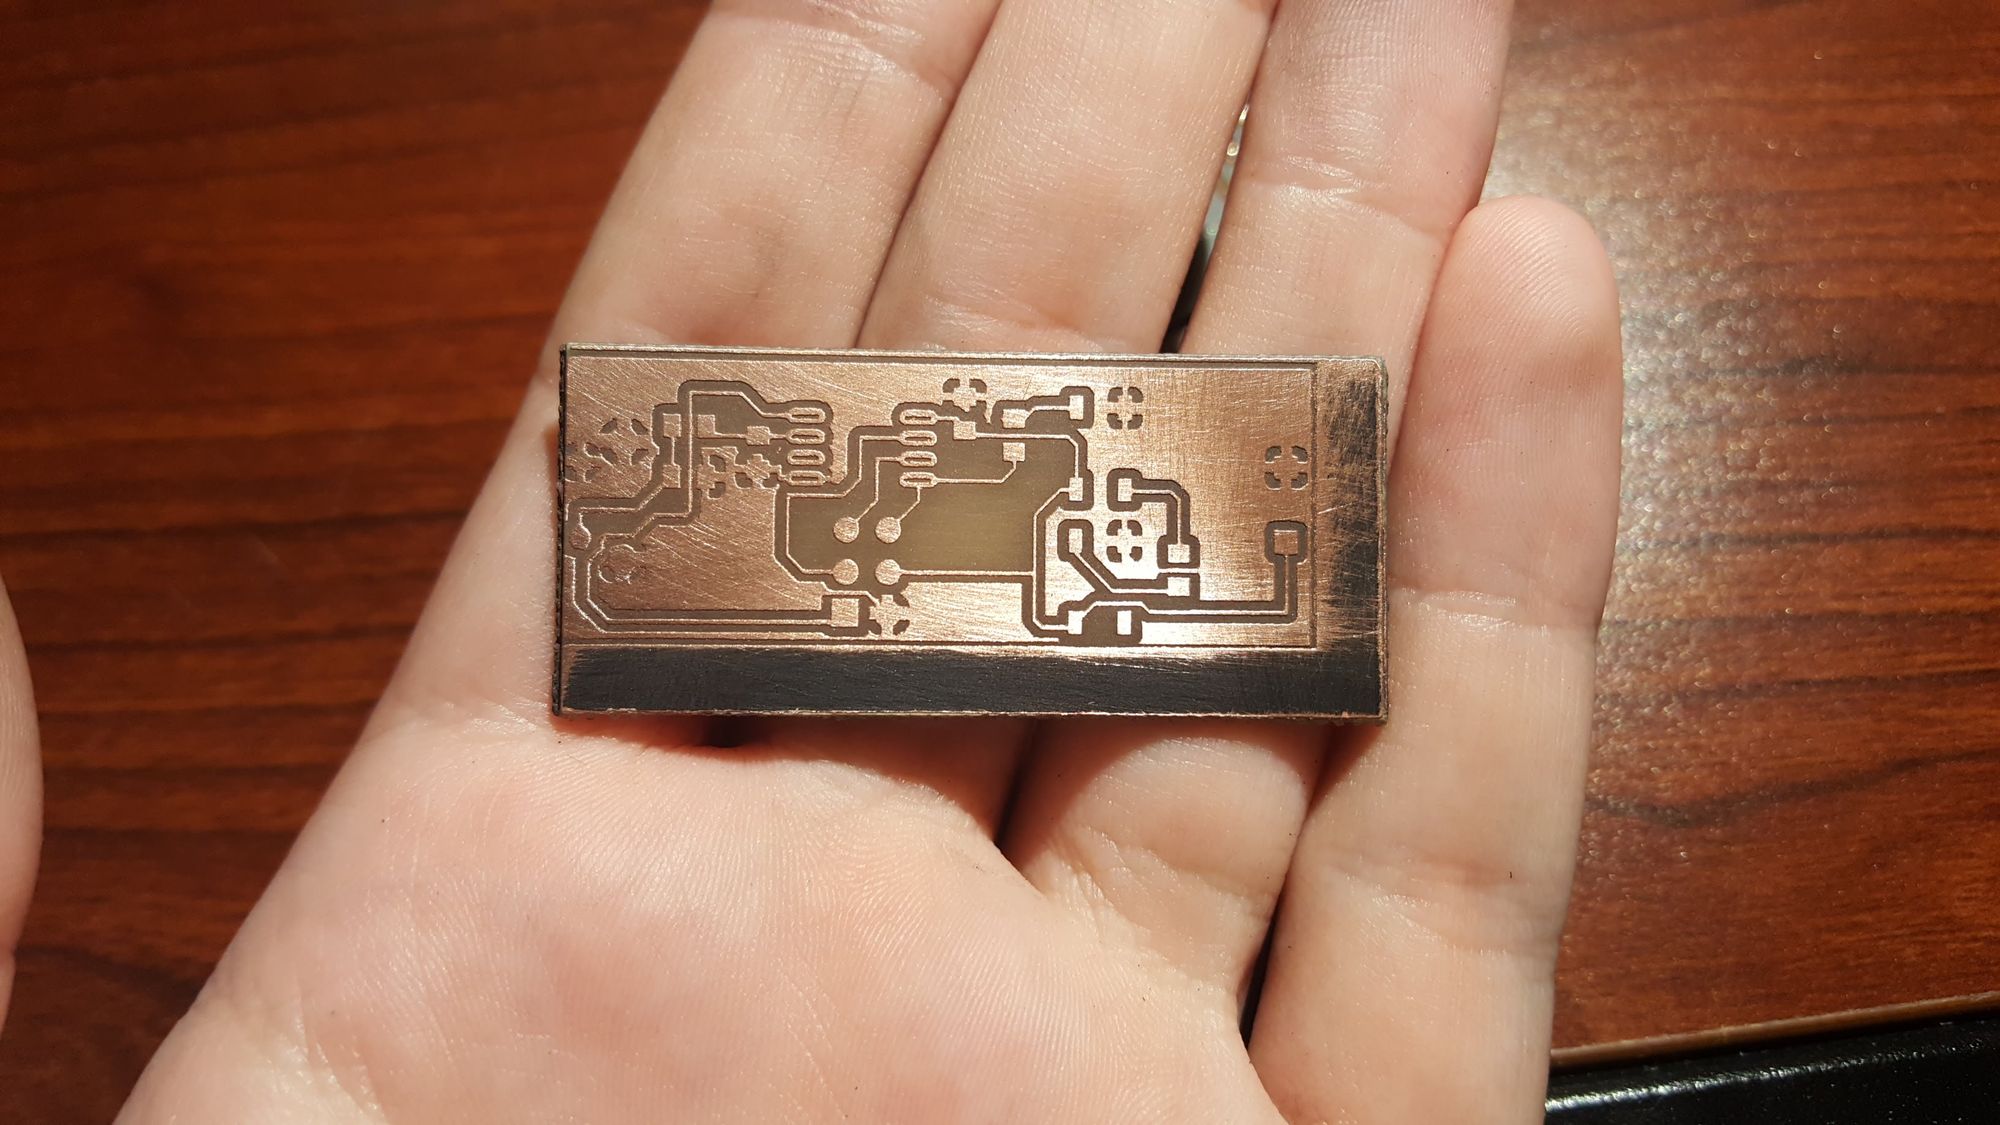
Step 5: Removing Resist
The paint is then removed using acetone and a paper towel, leaving the traces ready to solder.

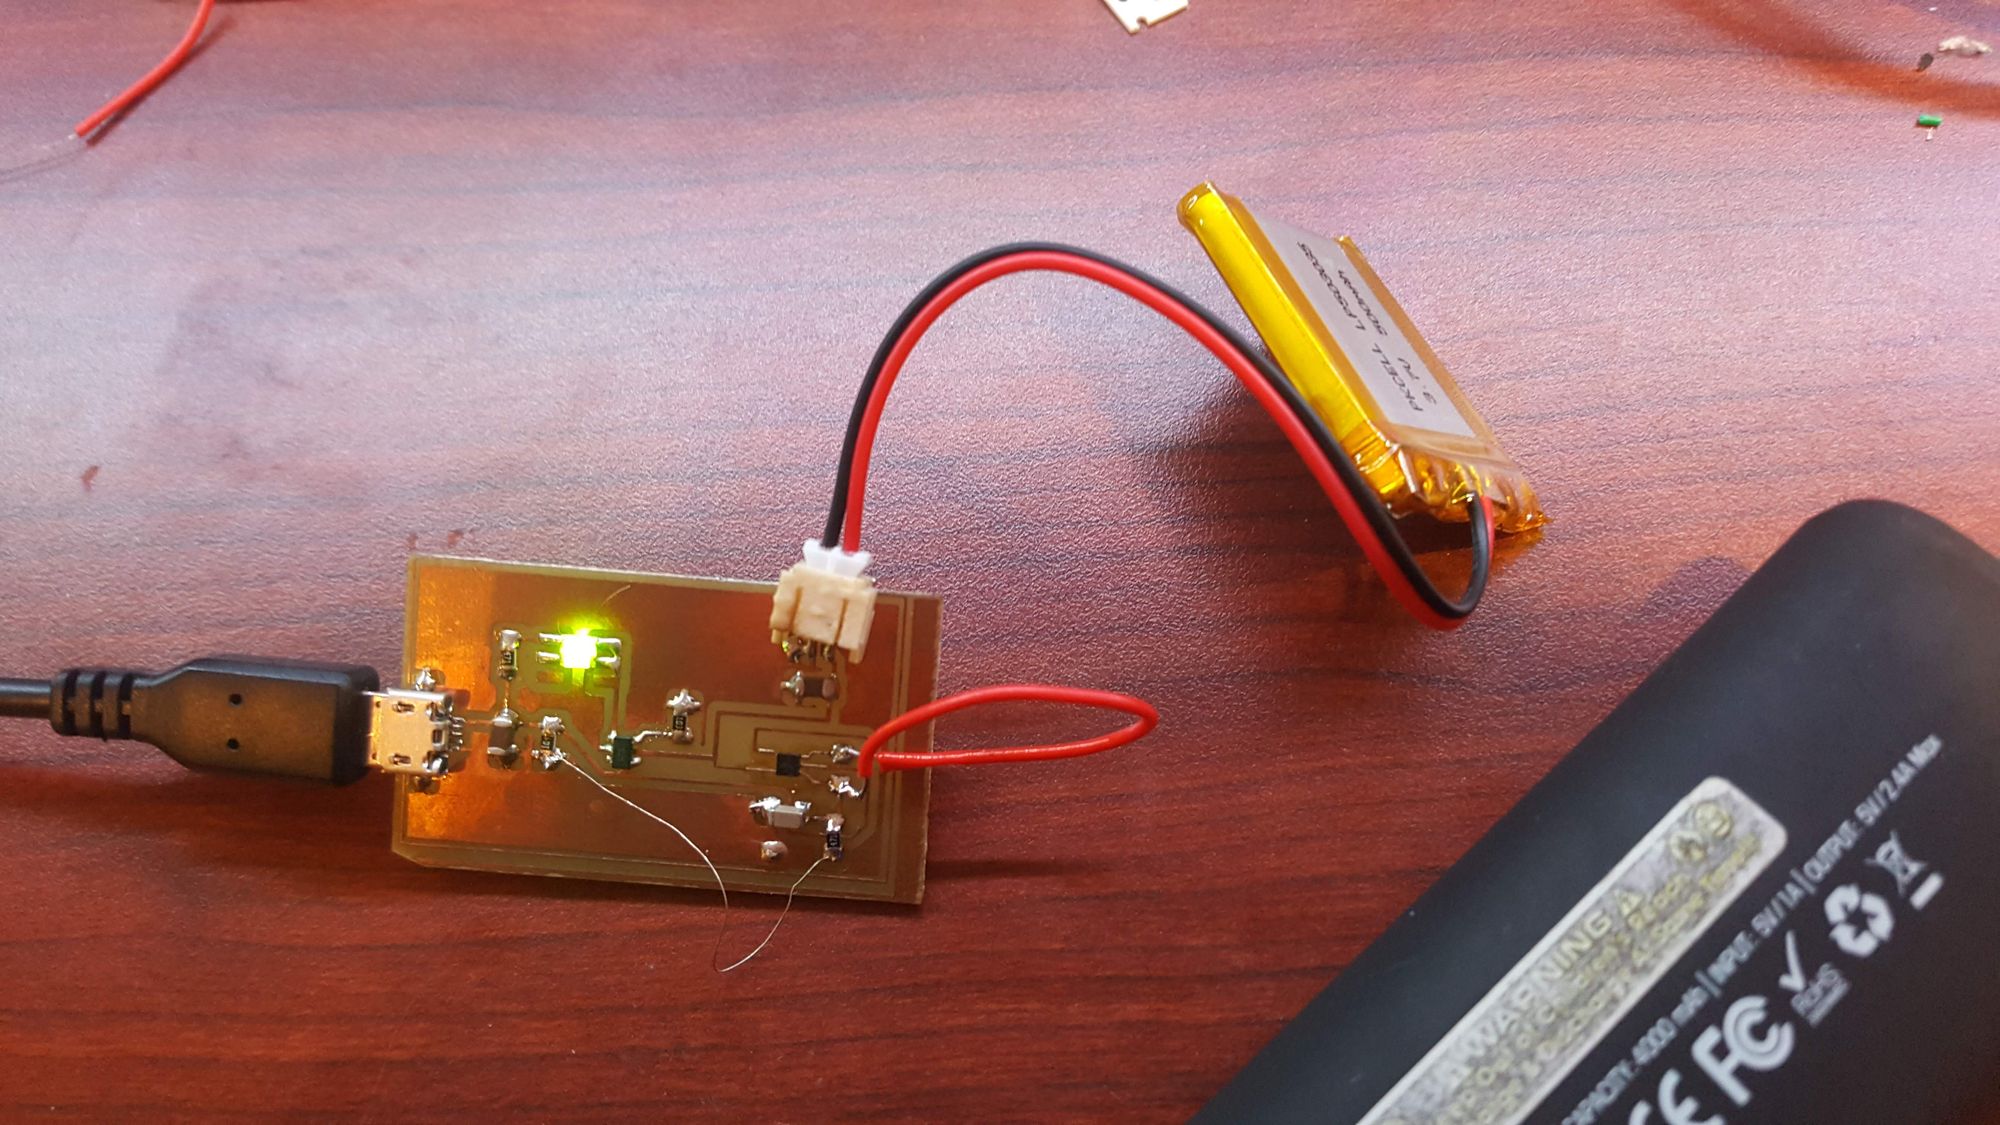
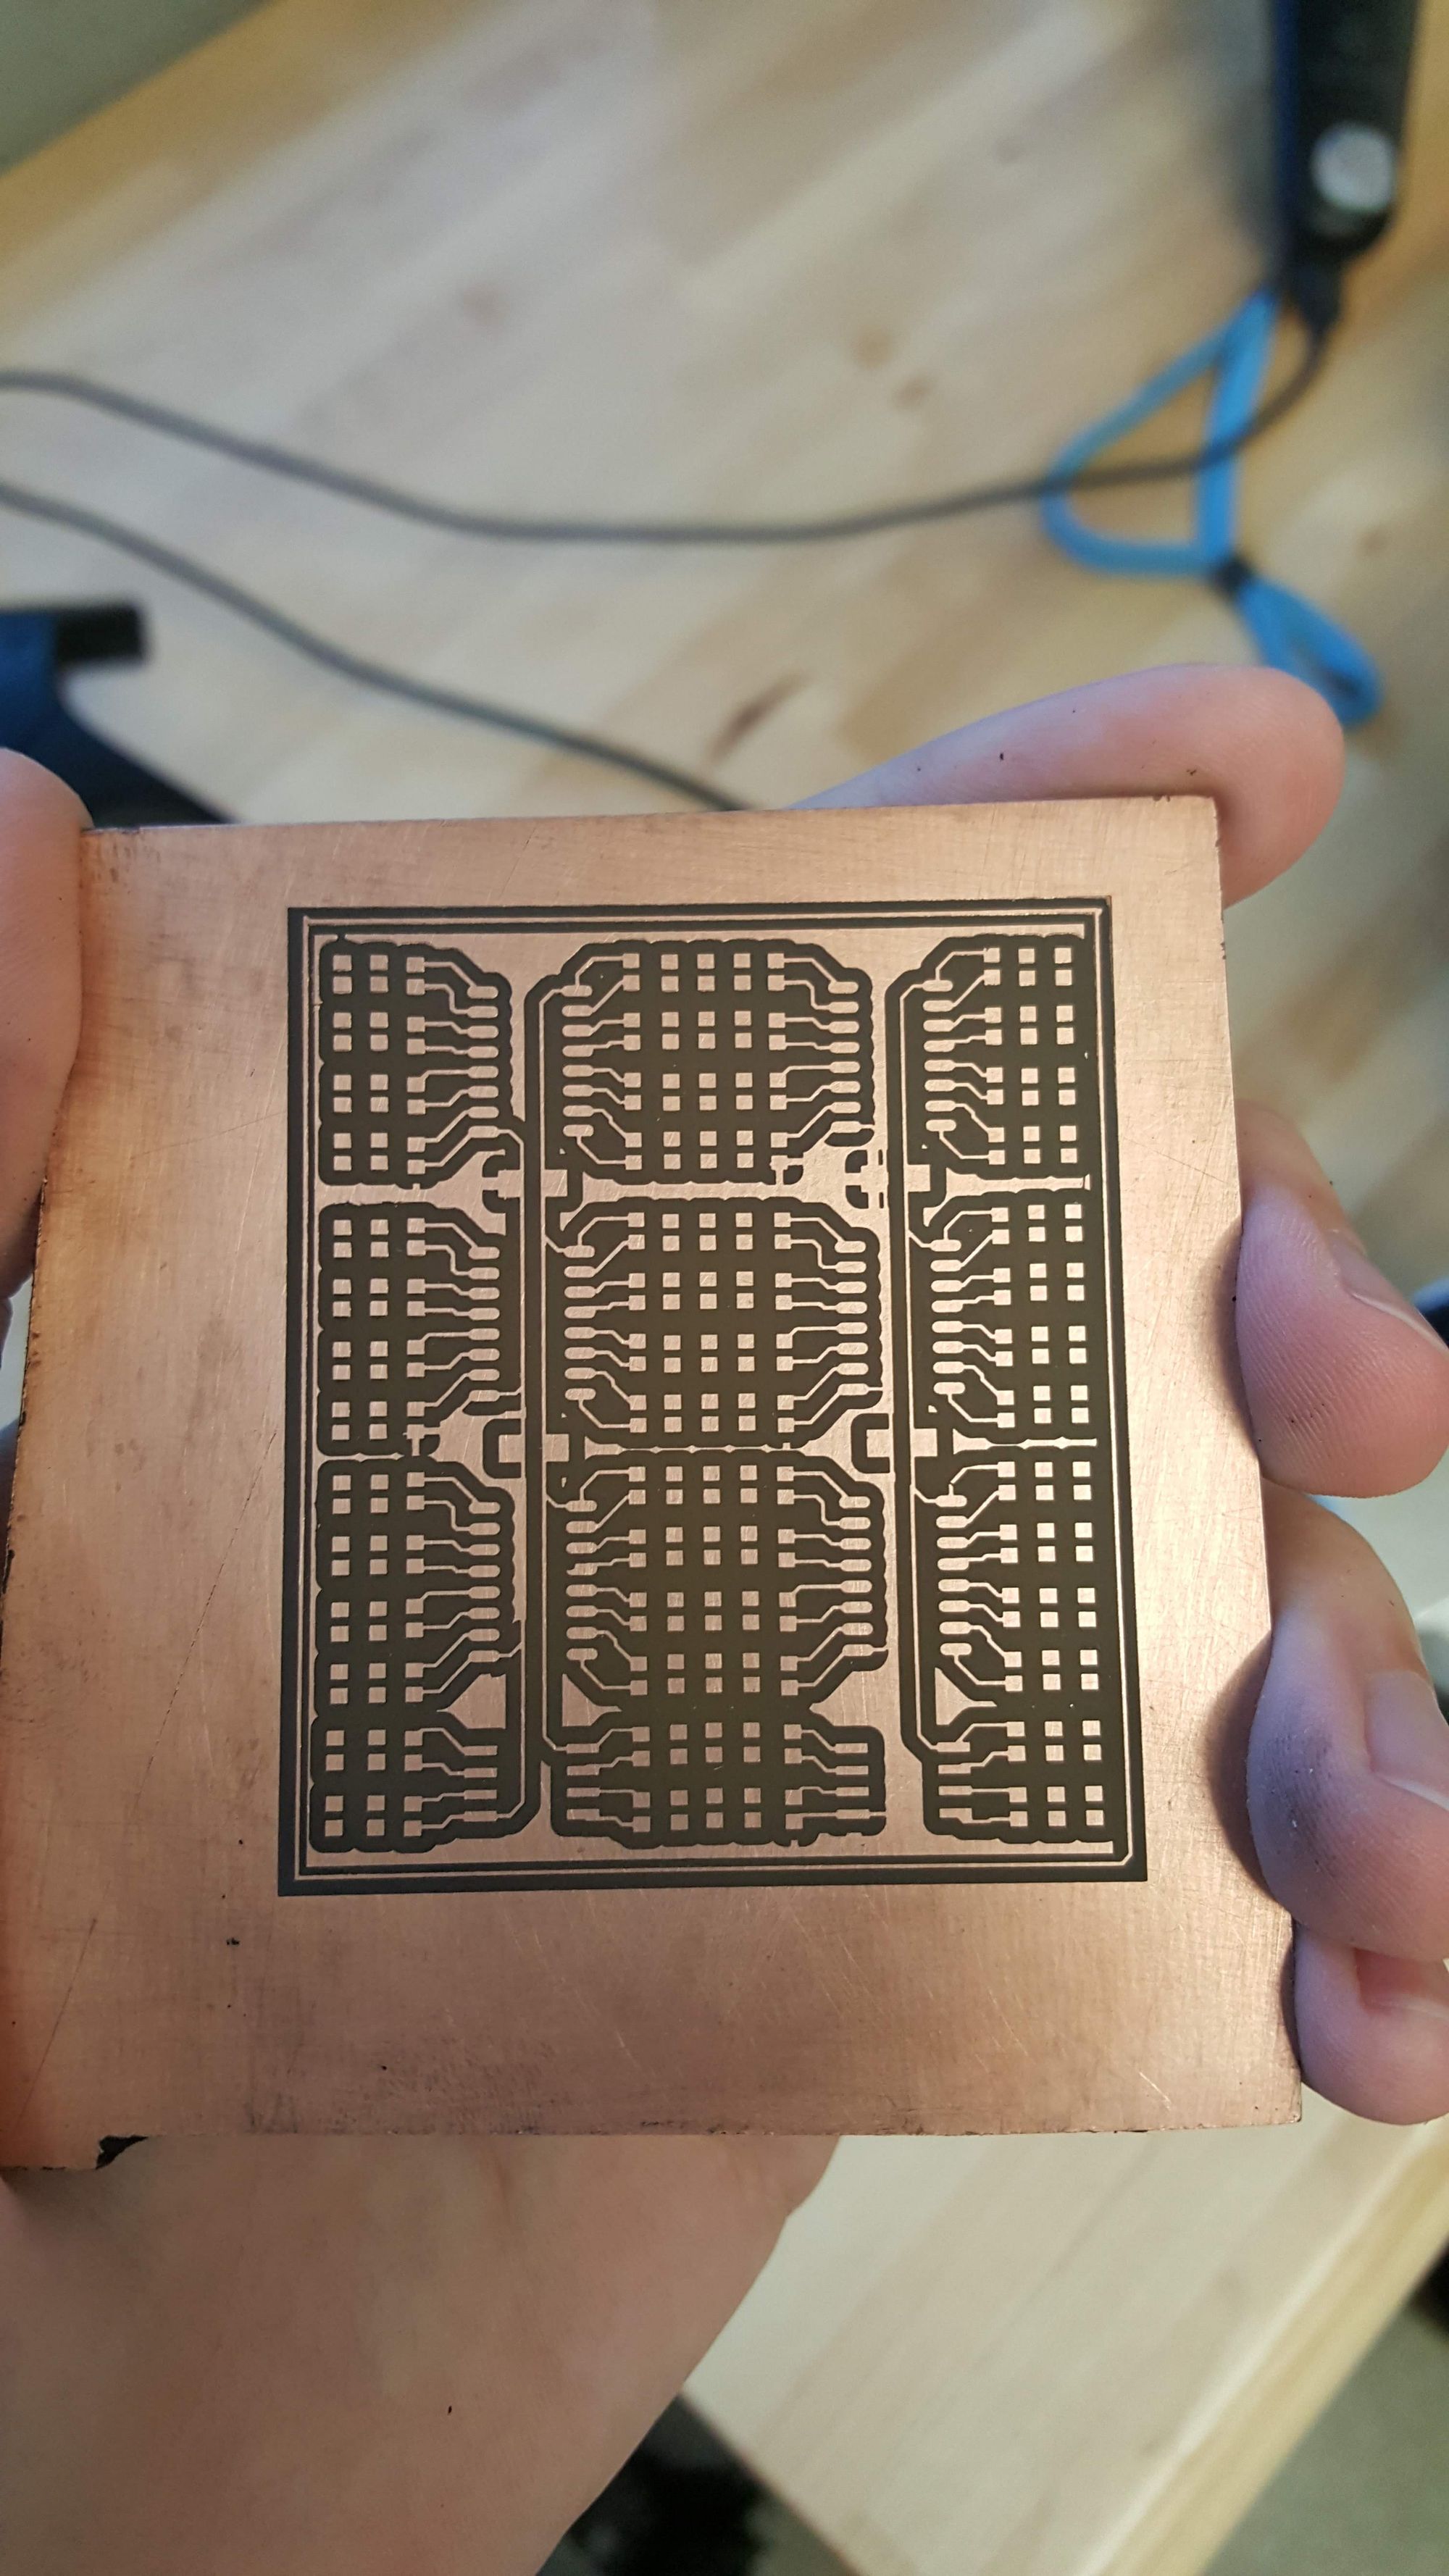
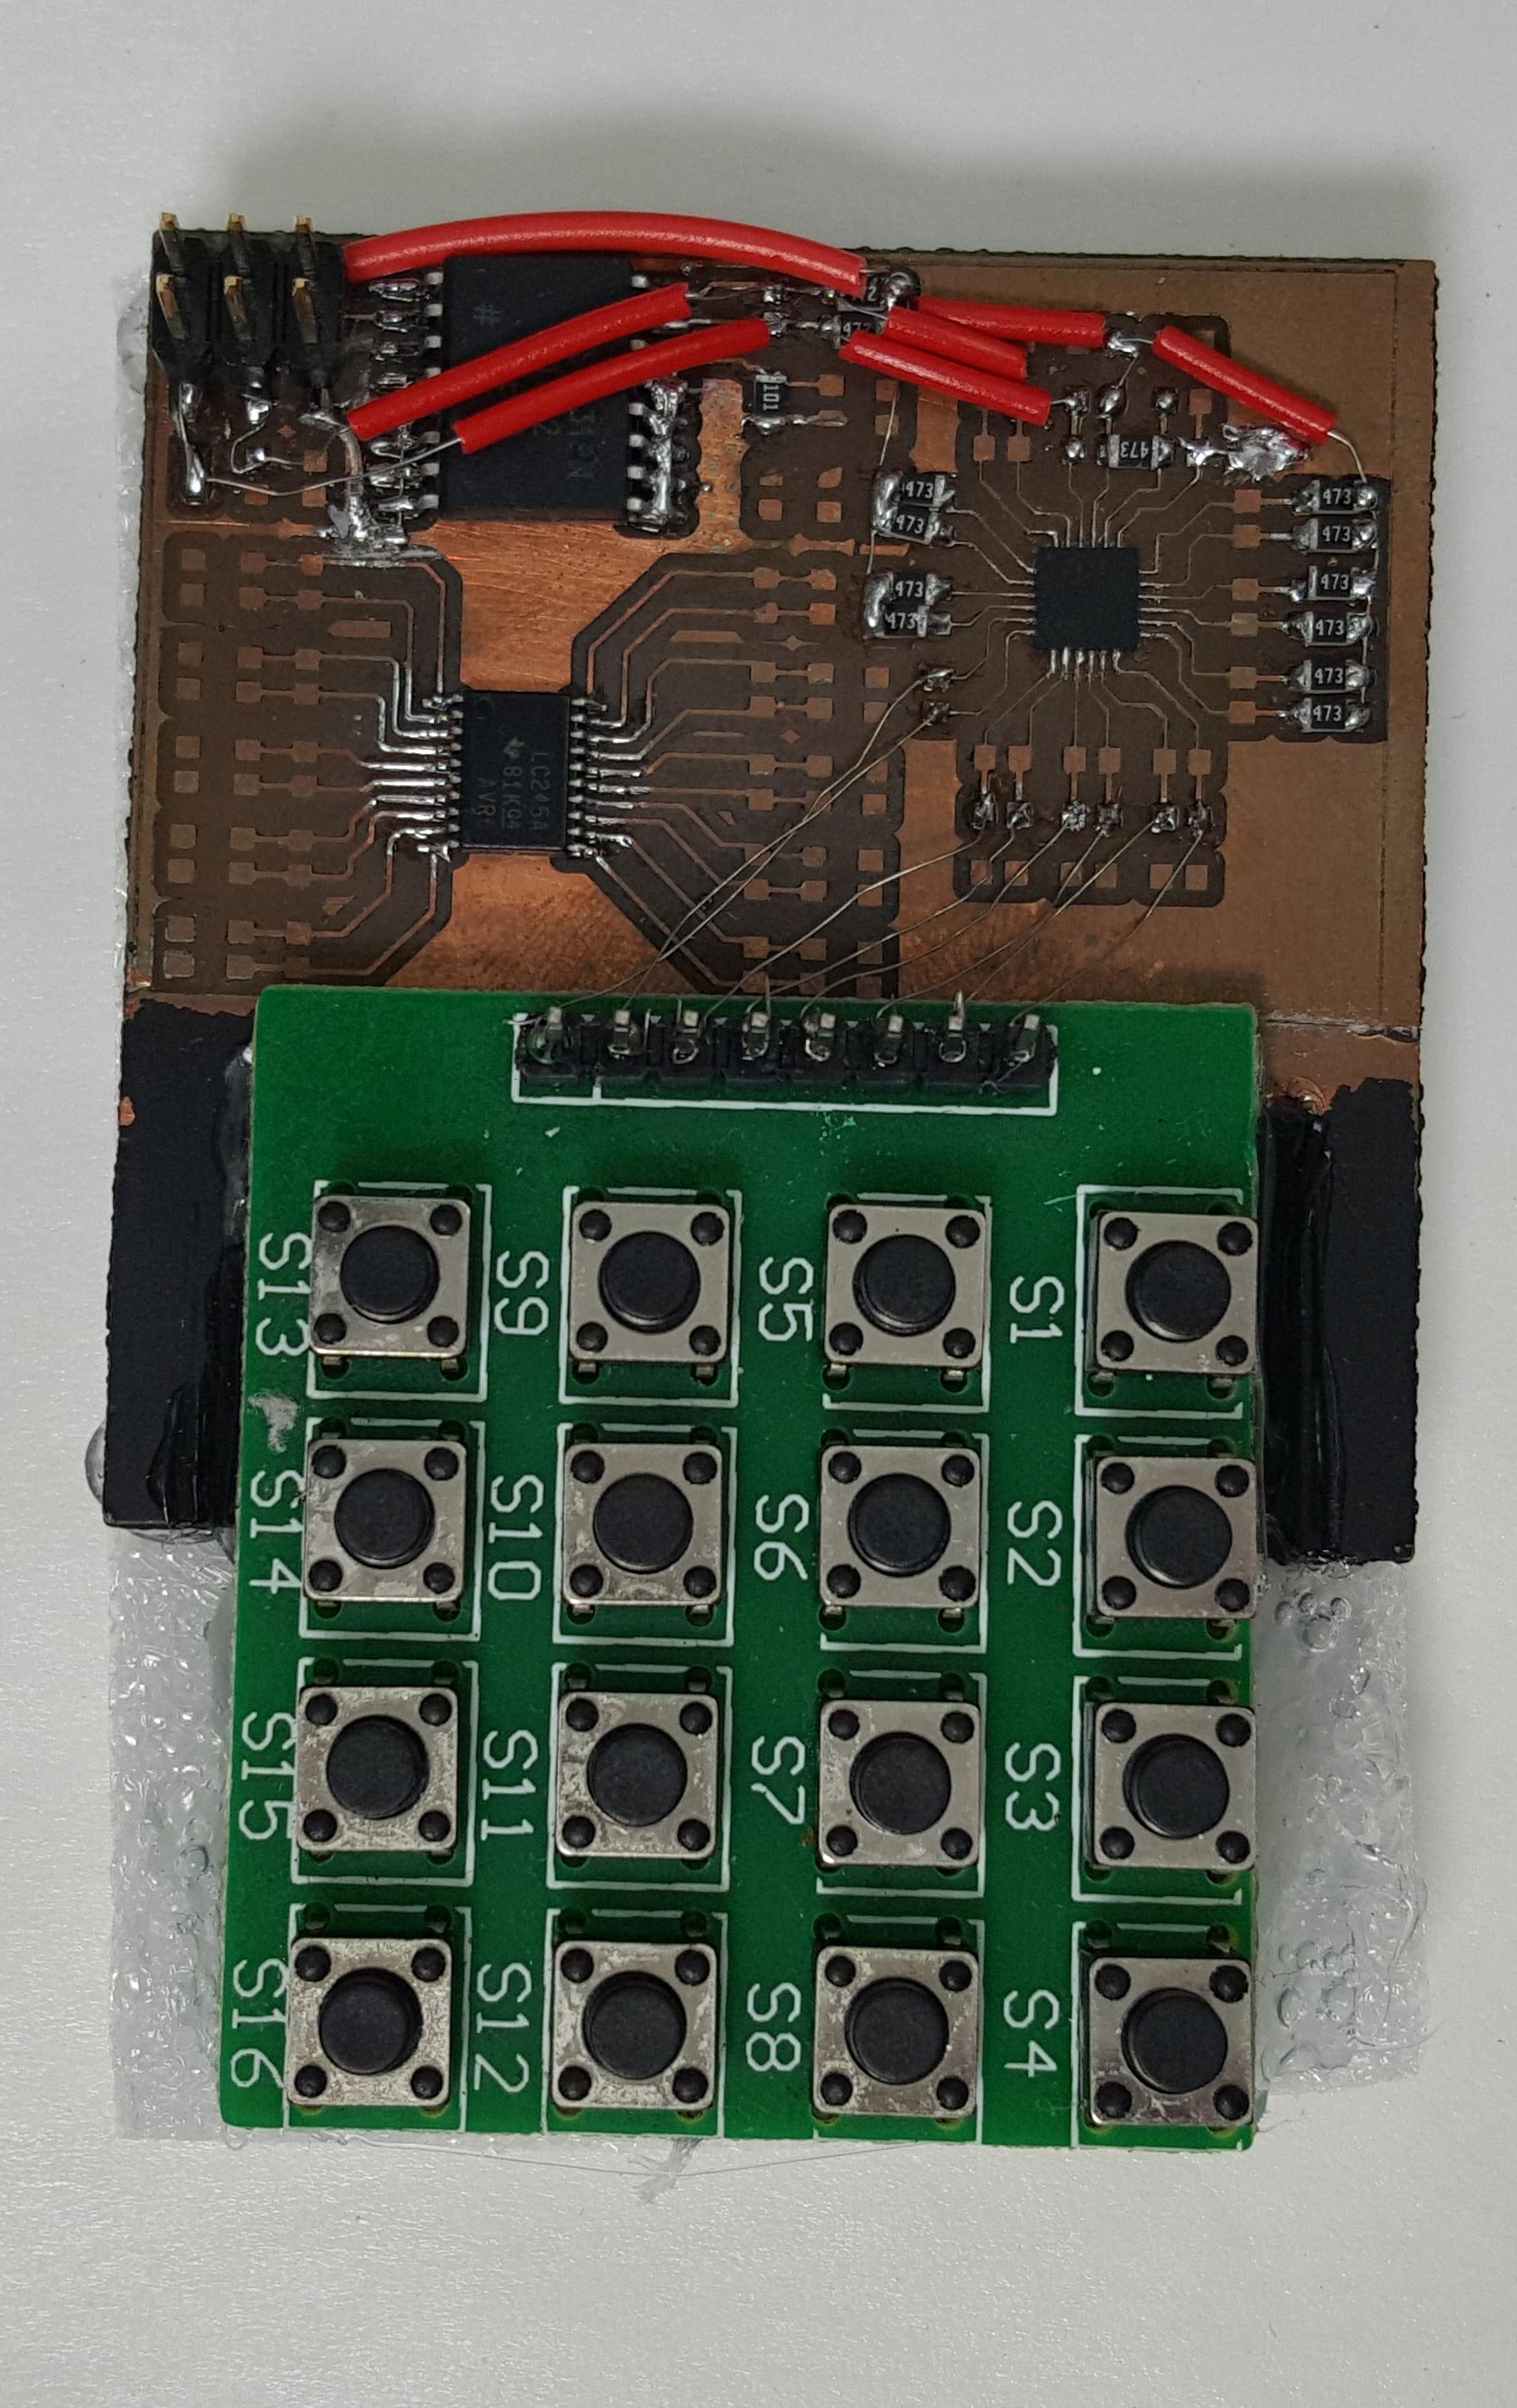
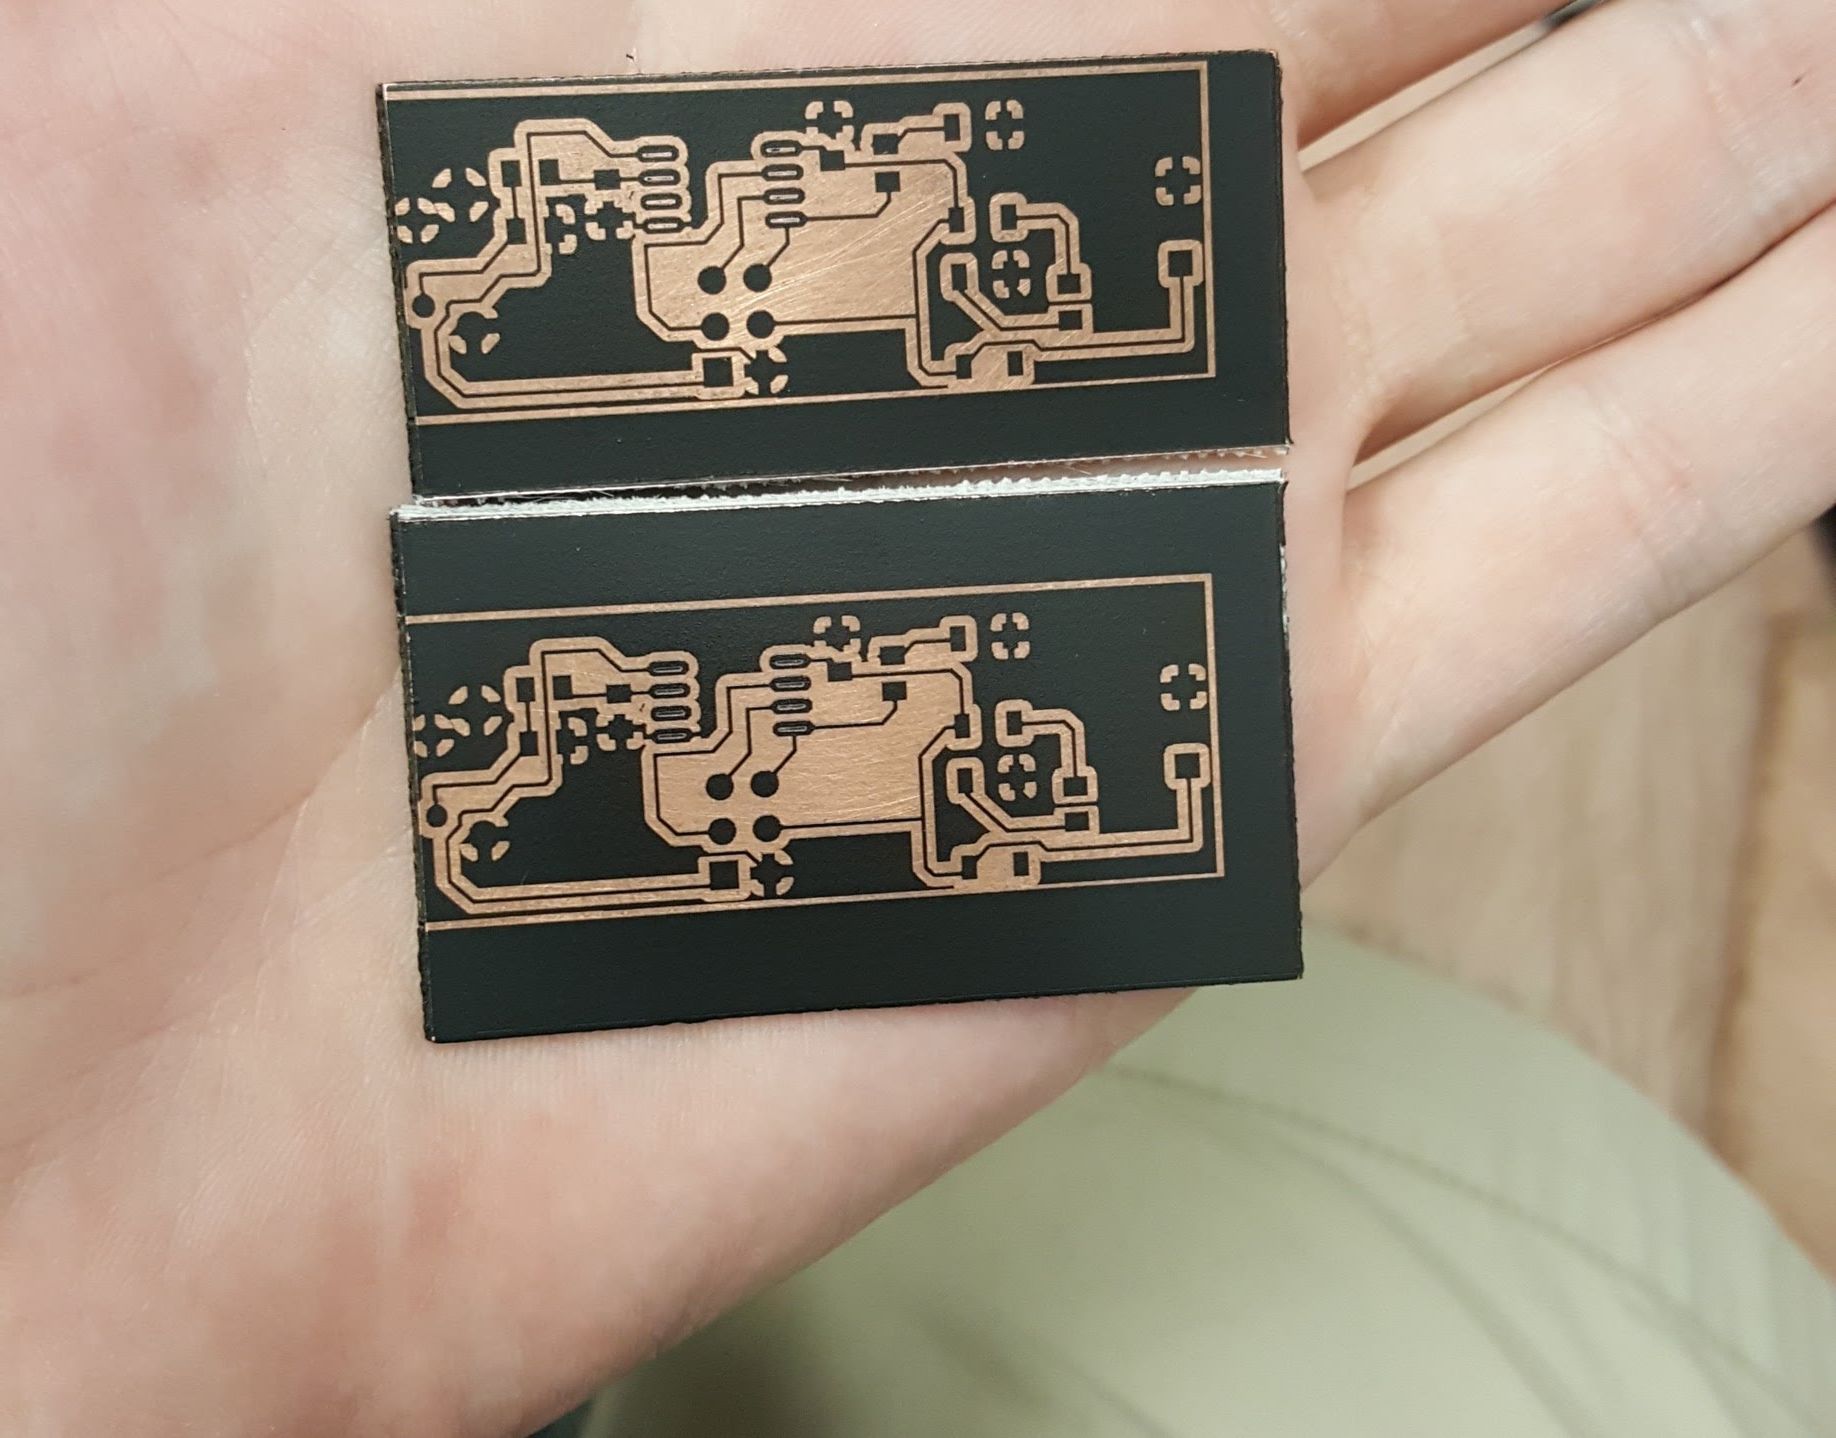
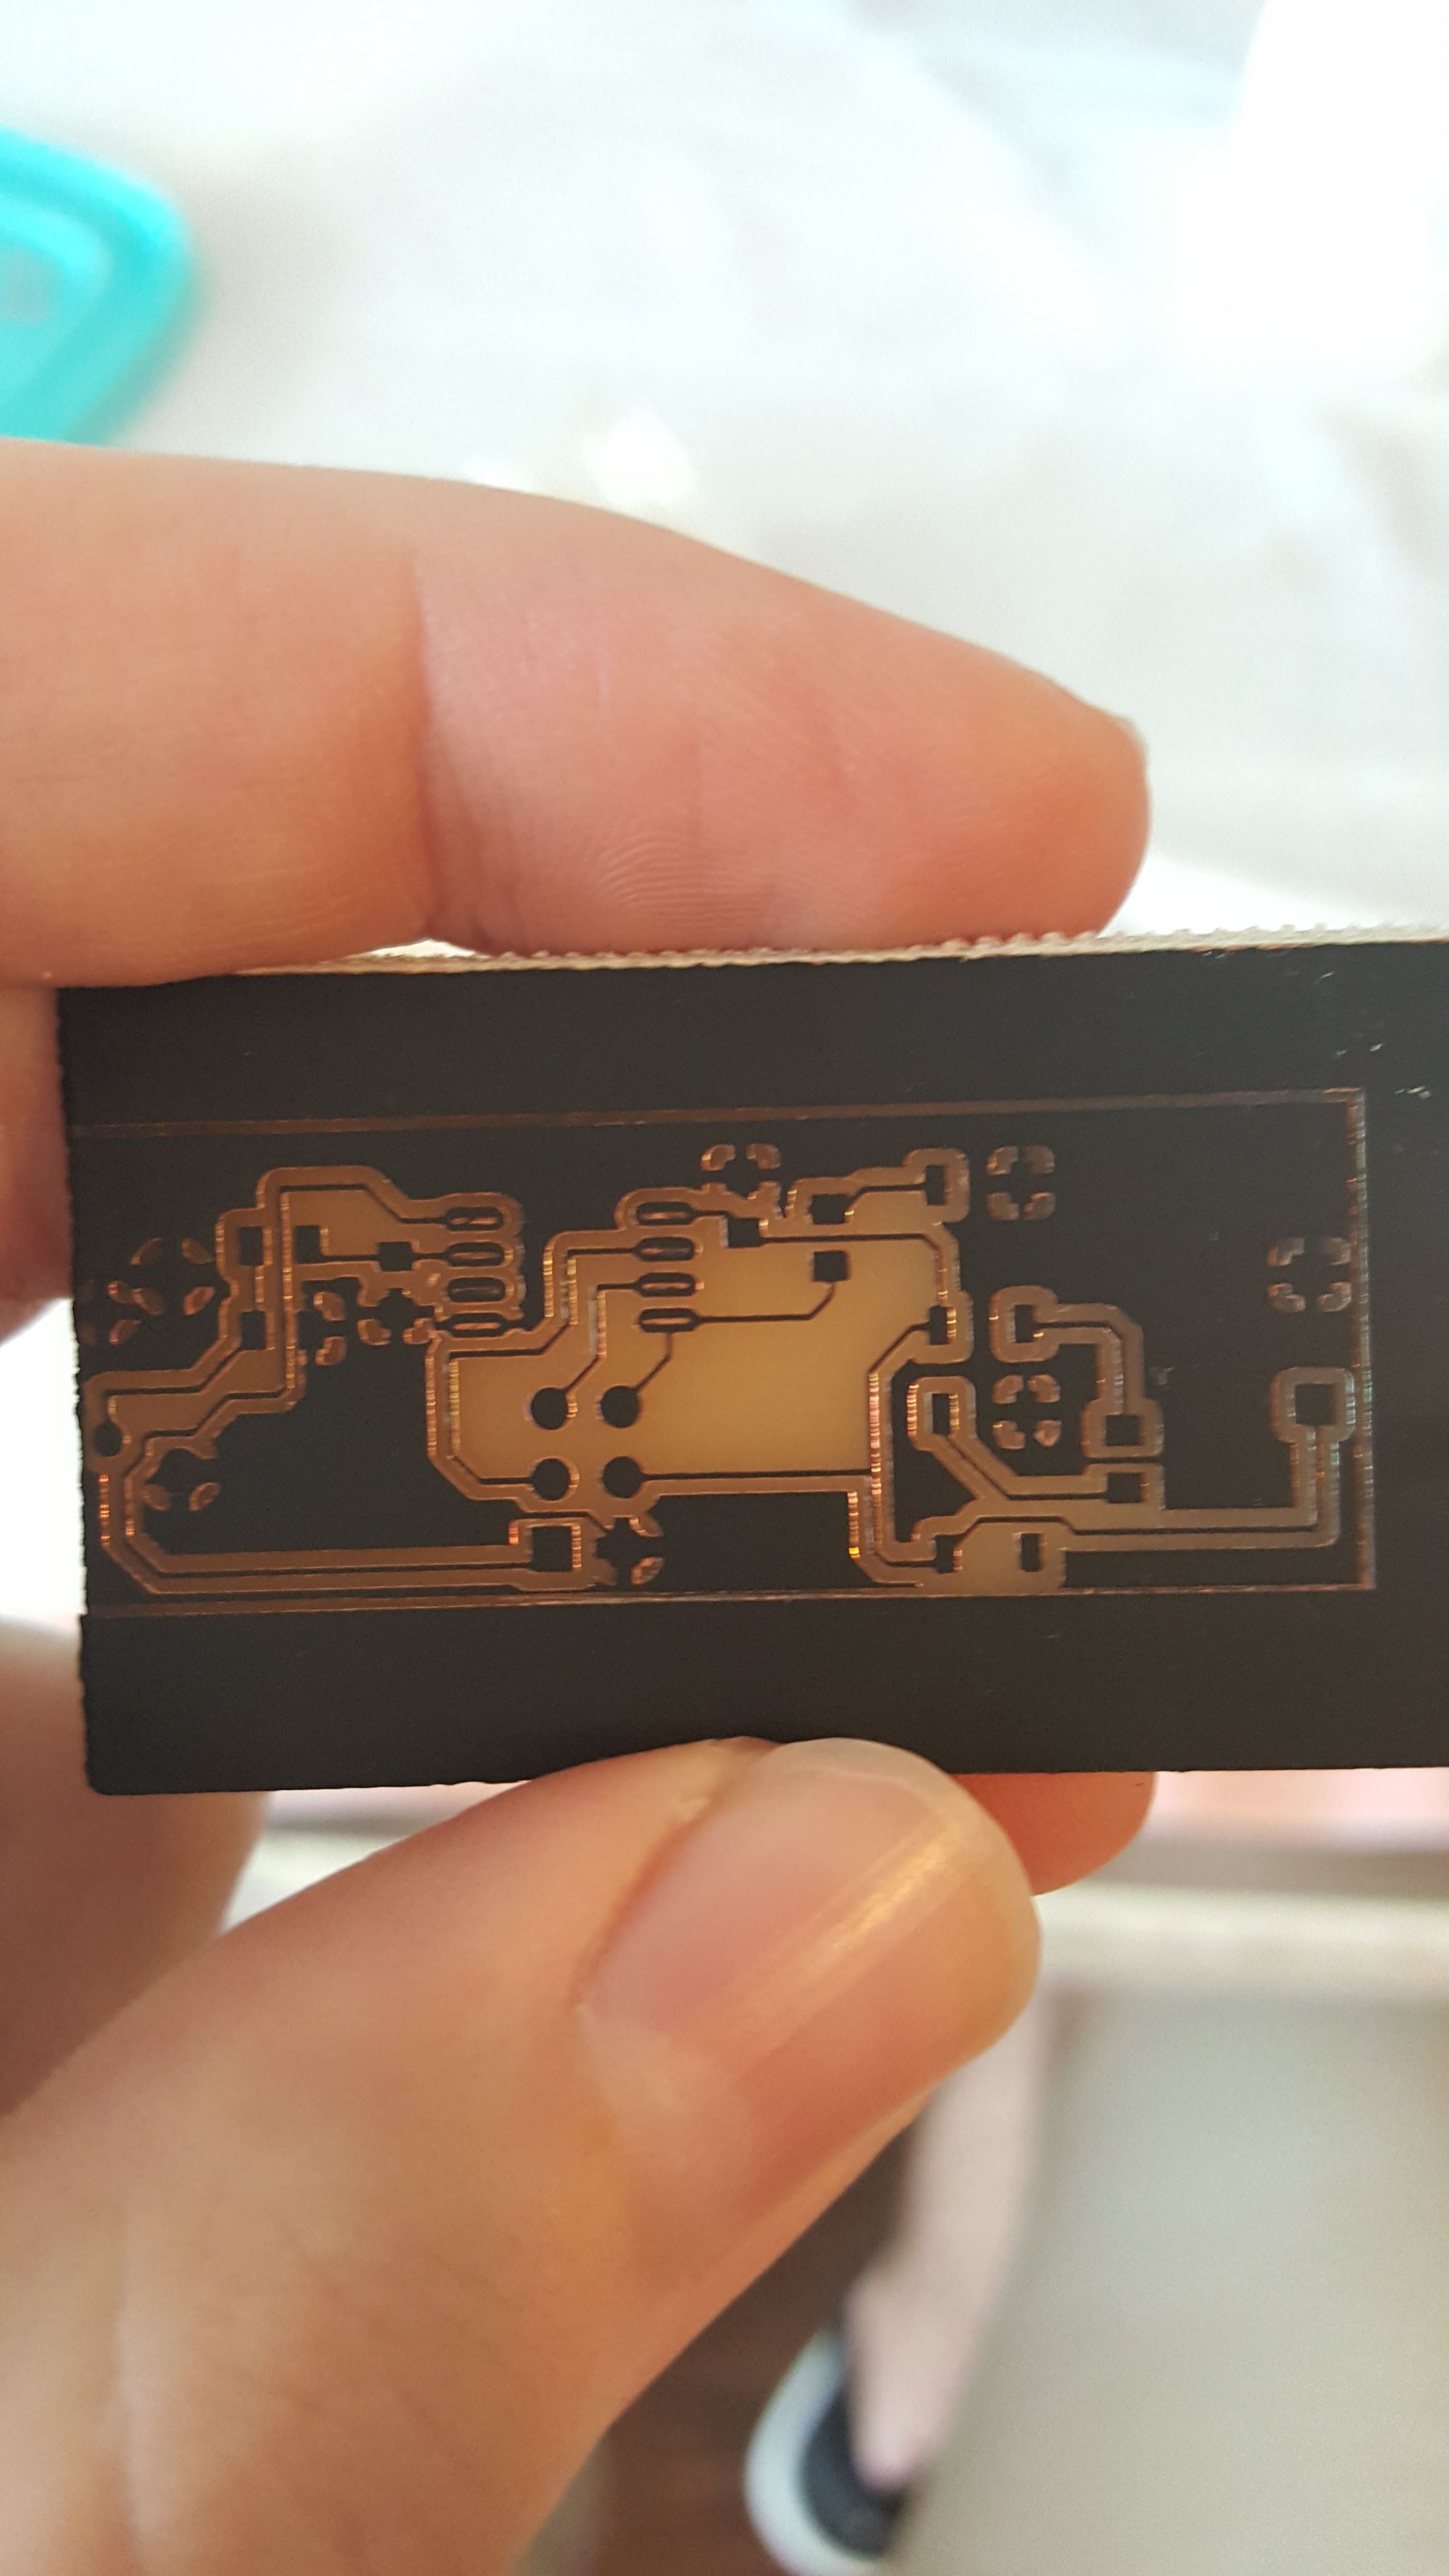
Step 6: Solder Parts
Finally, the parts are soldered. Below are examples of boards made using this process. With a basic laser cutter, decent detail can be attained. I have had success with most common SMD packages (excluding BGA).